European 4 in 1 is the most common and most basic interesting maille weave. That being said, it can still be a challenge for beginners who are new to maille. These instructions are intended to provide an introduction to this weave. Euro 4-1 can be made from just about any ring size, though it becomes impractical with an aspect ratio below 3 or so. A couple of good beginner's sizes are .08" (~14 SWG) wire in a 3/8" inner diameter ring; .104" (~12 SWG) wire in a 1/2" ID ring, and .0625" (~16 SWG) in a 5/16" or 1/4" ID ring.
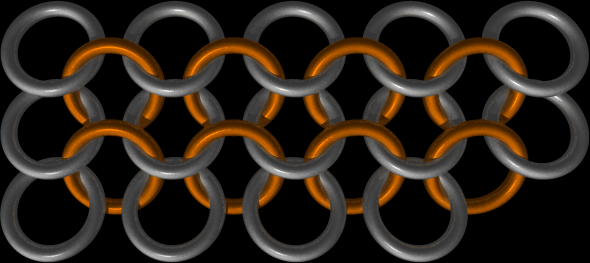
Step 1: Make a chain that consists of alternating a pair of rings, and a single ring. The easiest way to do this is to close two rings and connect them with another ring. Then close two more rings, put them on an open ring, and pass it through the previous pair. And so on.
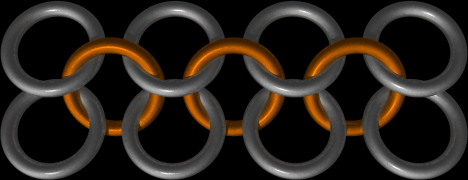
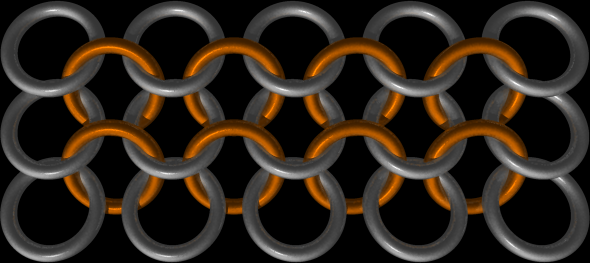
Step 2: We're going to start by making this patch taller. This is going to go one ring at a time. Orient your chain as in the image from step 1. Open a single ring, and pass it through the closer ring in the leftmost pair. Also pass it through the closer ring in the next-to-leftmost pair. Close the ring.
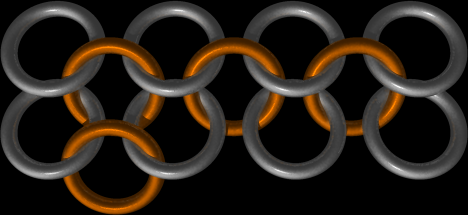
Step 3: Just keep adding rings like that for the entire row. Each ring should pass through only two of the "silver" rings.
Step 4: Now we need to add more "silver" rings. Notice that what we now have is a chain of alternating pairs of rings. We can do what we just did in steps 2 and 3 to continue making the patch taller. So just find the lower-left ring from the newest row, and pass a ring through it, and it only. This is a corner ring; it only passes through one ring at the moment.
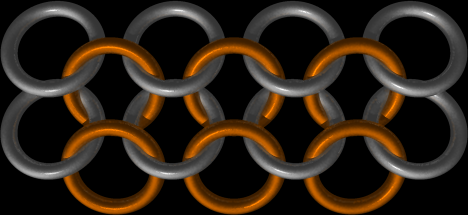
Step 5: Now we can do like we did in step 2 - a new ring that passes through two other rings. The lower left two rings from the new row are our target; nab 'em both with a ring.
Step 6: Keep repeating step 5 until the row is done. The last ring, like the first ring, will only pass through one other ring.

Step 7: You can just keep repeating steps 2 through 6 to make the patch taller; now we're going to start on making it wider. Start by adding a ring through the top two rings on the right side.
Step 8: And just keep on doing that for the rest of the column.
Step 9: Now we need to add "silver" rings again. And again, the first ring's an odd one. Since it goes in the corner, it'll only pass through one of the rings from the previous column. Nab it through the top-right ring.
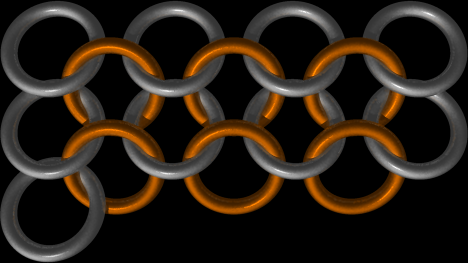
Step 10: The next "silver" ring goes through two of the rightmost rings.
Step 11: And just keep doing that until you hit the end of the column. Once again, the last ring is only going to pass through one ring, since it's a corner ring.
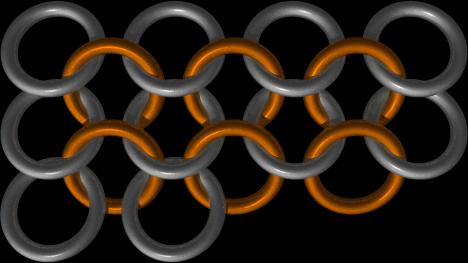
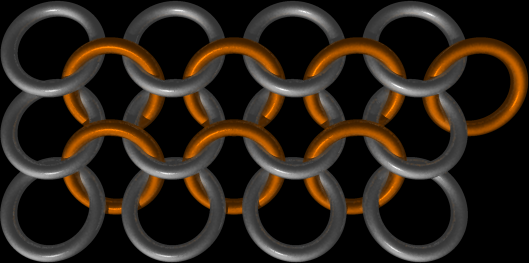
That's all there is to weaving European 4-1, but there's one more thing you need to know before you can go. The way you've been weaving Euro 4-1 here is only one of two possible orientations of the weave. This way, the "open" way, causes gravity to pull the rings away from each other. While it's a nice look, it's not very good for clothing, where you'd rather that the "cloth" have some natural stretch to it, so that people can move and breath easily. If you rotate the weave 90 degrees, you'll get the other, "closed" orientation. When making maille clothing, you want the weave to be in the closed orientation, looking something like the image on the right:
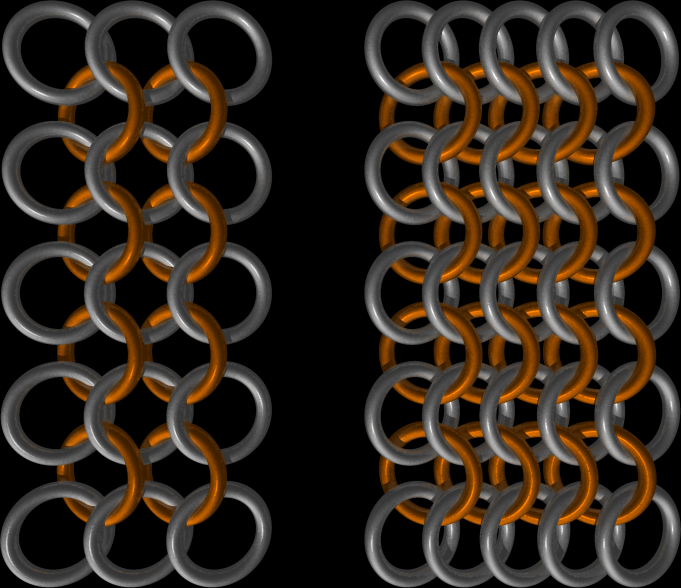
The image on the right shows Euro 4-1 at partial stretch. It still has some room to move about, so if the person inside the shirt wants to breath in (expanding their chest), they have room to do so. The version on the left, while hung correctly, is already at full stretch; there's no room to move about underneath it. To gain some stretch, more material should be added to it. This requires a bit more work to cover the same surface area, but the fit of the finished piece will be far better.
All items on this site are copyright 2005 Chris Weisiger (a.k.a. Derakon). That's right - I made everything on this site. Reproduction of any of my work in whole or in part requires my express consent.